Grafting Success: The Cambium Rule, Timing, and Take Rates
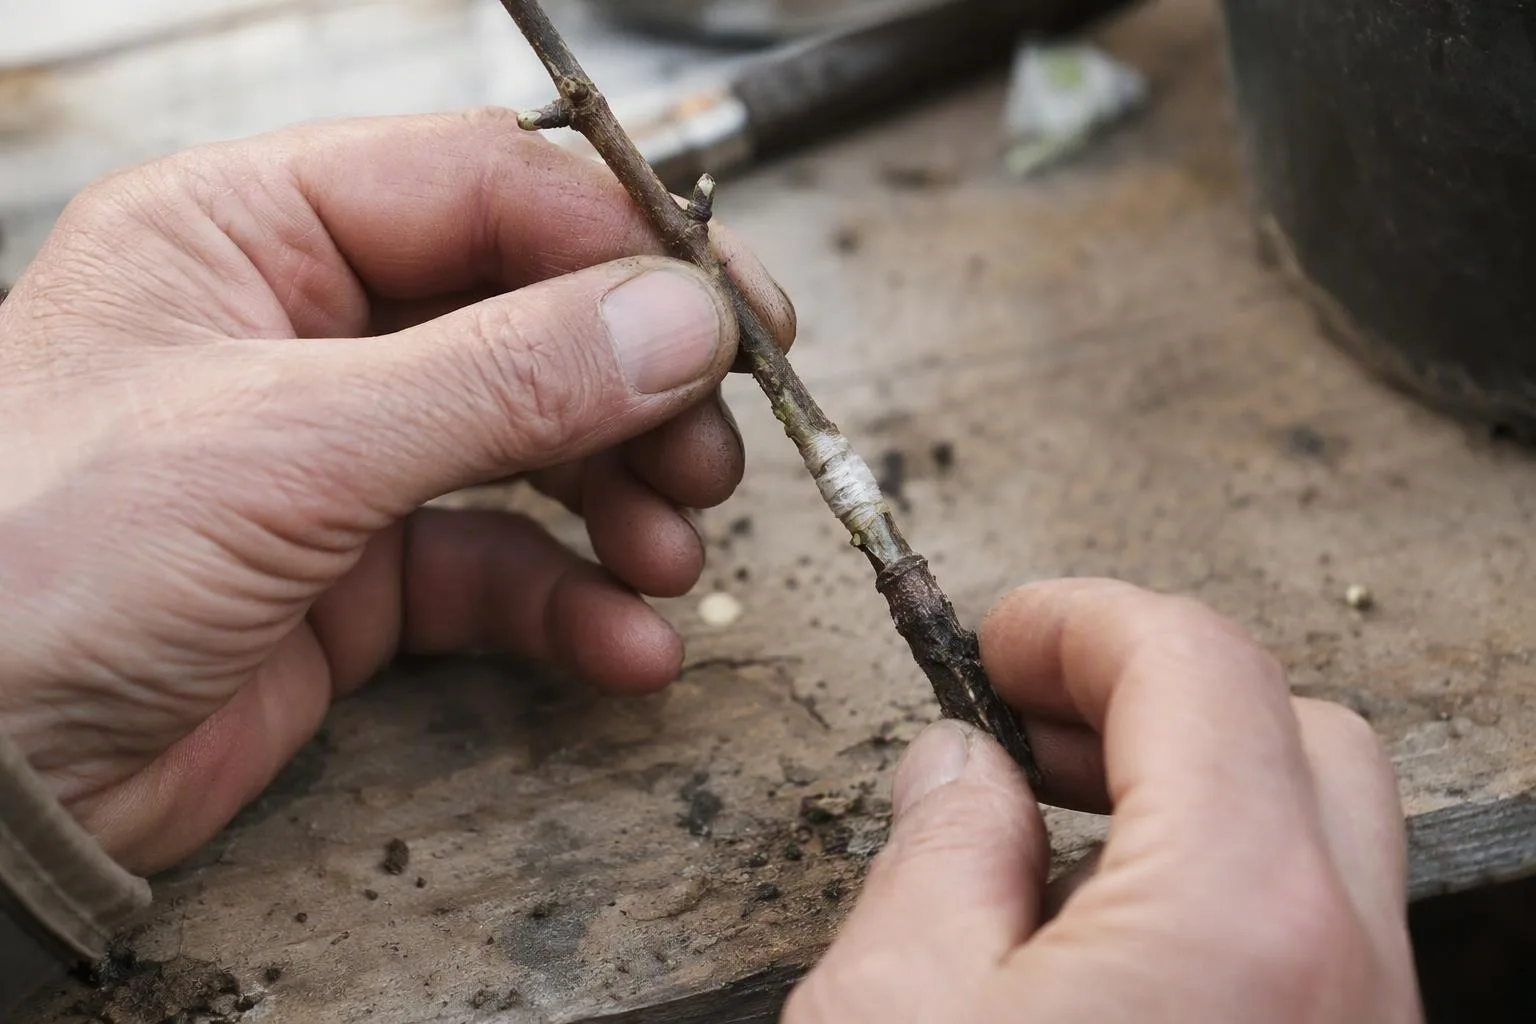
A graft can fail even when the two pieces look neatly joined. The deciding detail is smaller: at least one living cambium edge must meet its counterpart, then stay moist and still long enough for callus to bridge the wound. For a young apple whip graft, that means a clean 3–4 cm sloping cut, one accurately matched edge, a tight tie, and protection from drying; matching the bark all the way around is helpful, not the rule.
That distinction explains why a green scion is not proof of success. Stored sap can keep it looking alive while the union remains disconnected. Treat grafting as a timed repair operation: choose compatible wood, make the contact, control moisture and movement, then wait for evidence stronger than a swelling bud.
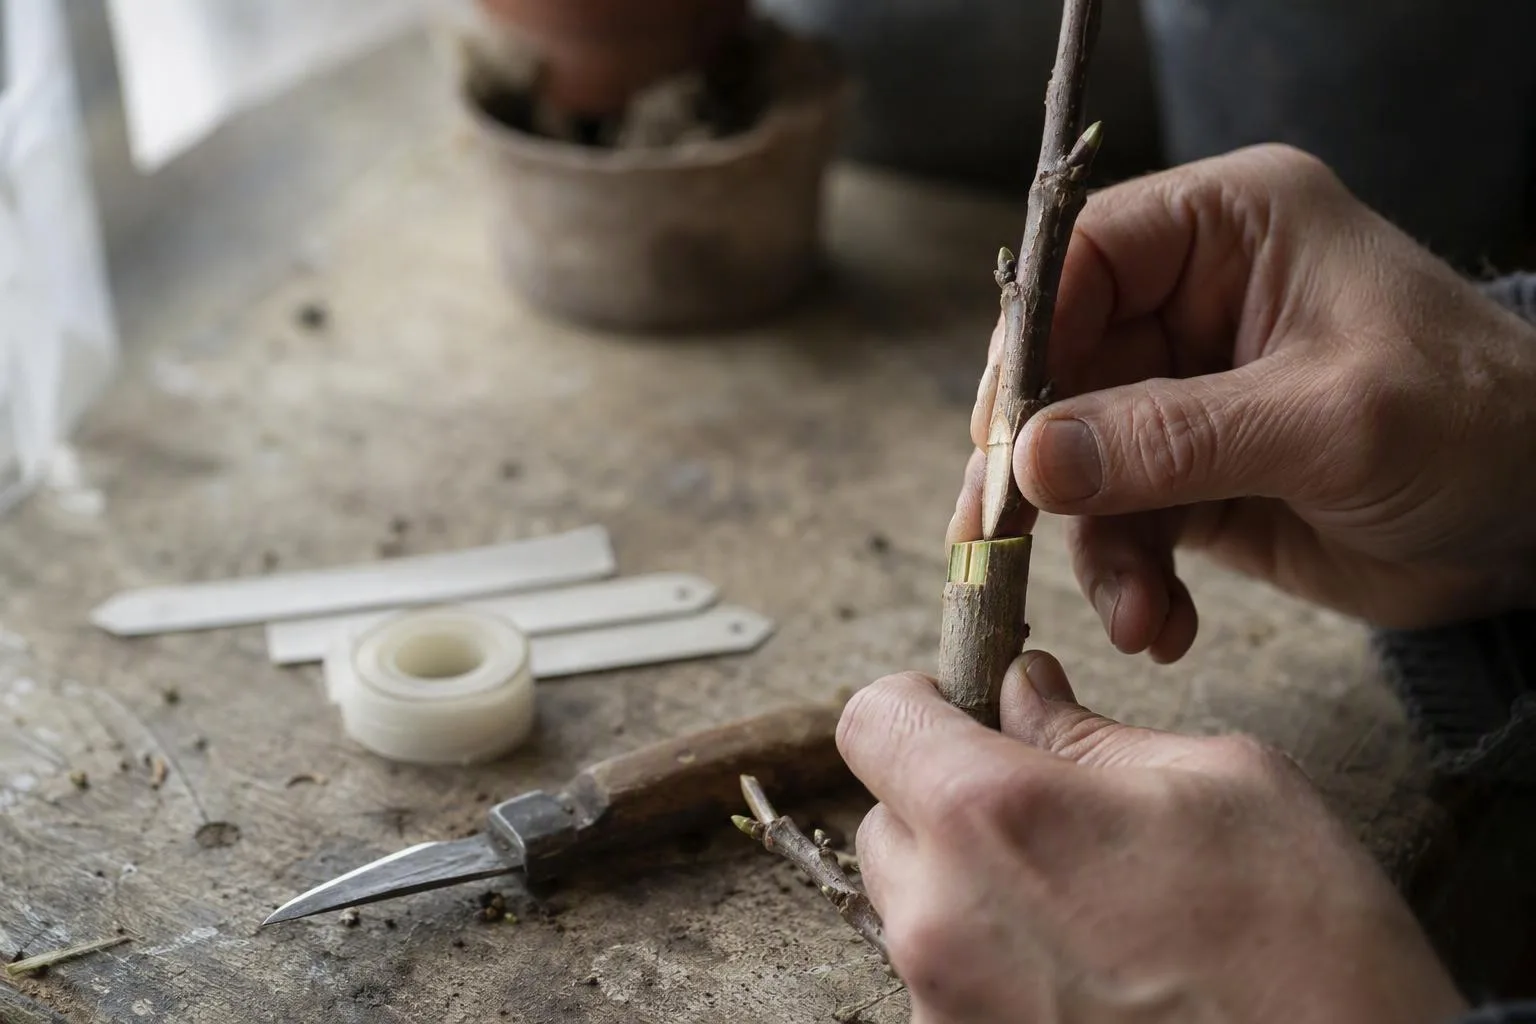
The Cambium Rule Comes Before Every Other Grafting Detail
The cambium is the thin, actively dividing layer just beneath the bark. It produces new conducting and supporting tissue as the stem expands. In a graft, the practical objective is not to press two pale cut faces together. It is to place the cambium of the scion against the cambium of the rootstock across enough length that the two wounded surfaces can produce bridging tissue.
With equal-diameter shoots, the job is straightforward: make matching cuts and align the greenish cambial margins. With unequal pieces, central alignment can be impossible. Shift the scion to one side instead. One continuous cambium edge in accurate contact is more useful than a beautifully centred scion whose cambium misses on both sides.
Bark colour is a poor guide because bark thickness changes with age, species, and water status. A rootstock and scion can have the same outside diameter while their cambial rings sit at different depths. Scraping or cutting farther into the wood to “find” the cambium usually creates more damage, not better alignment.
My practical priority is therefore: clean cut first, cambium edge second, firm immobilisation third, sealing fourth. Wax cannot rescue a misplaced union, and tape cannot compensate for crushed tissue.
What the Graft Is Doing Between the Cut and the Callus
Both pieces respond to cutting as wounded tissues. Cells near the cut surface lose their normal arrangement, dry if exposed, and begin producing callus. That callus is initially a mass of new living cells; it is not yet a working pipeline between rootstock and scion.
A useful mental model is a temporary construction site. The binding keeps the two wound margins close while new cells bridge the gap. Later, some of that new tissue differentiates into connections that can carry water upward and carbohydrates in both directions. The connection is gradual and uneven, which is why a graft may look promising before it can support vigorous shoot growth.
Temperature changes the pace of this repair. Cold wood remains metabolically slow, while excessively hot, dry conditions pull water from the scion faster than the unfinished union can replace it. Moisture must be protected without turning the wound into a permanently wet pocket.
A pale callus rim is encouraging, but it proves only that living tissue is responding. A swelling bud is an even weaker test: the scion may be using stored reserves. The fullest confirmation comes later, when the scion sustains new growth and the union resists gentle movement without cracking. Even then, long-term compatibility can remain a separate question.
Choose the Calendar Before You Choose the Grafting Method
Start with the plant’s state, not a date printed on a calendar. Whip-and-tongue grafting generally belongs near the end of dormancy, when scionwood is still dormant but the rootstock is approaching active growth. Cleft grafting also suits dormant scions, but it is used on a larger stock and leaves a wider wound that needs careful sealing.
Bark grafting needs a different condition: the rootstock must be active enough for its bark to lift from the wood. If the bark will not slip cleanly, forcing it tears the stock and leaves ragged cambium. Budding methods, including chip budding and T-budding, are chosen around mature buds and active stock rather than the dormant-scion calendar. Warm conditions after the operation help the bud shield or chip form a union before winter.
For growers in zones 4–9, a useful working sequence looks like this:
- Late winter: collect or use dormant scionwood while buds remain tight. Store it cold and protected from drying, then graft as the rootstock begins to wake.
- Early spring: use whip-and-tongue on compatible, closely matched young wood. Consider a cleft graft where the stock is substantially thicker than the scion.
- Mid to late spring: test bark slip before attempting bark grafting. The exact window follows sap flow and bud break, not the same week every year.
- Late summer: use chip budding or T-budding when buds are mature and the stock is still actively growing. A late-season bud operation can save scion material and fit plants whose spring grafting window was missed, but it needs enough warmth and time for the union to settle before hard cold.
Move the schedule earlier or later according to local bud break, night temperatures, and the condition of the stock. A fixed “best month” is less reliable than observing whether the rootstock is still dormant, beginning growth, or slipping bark.
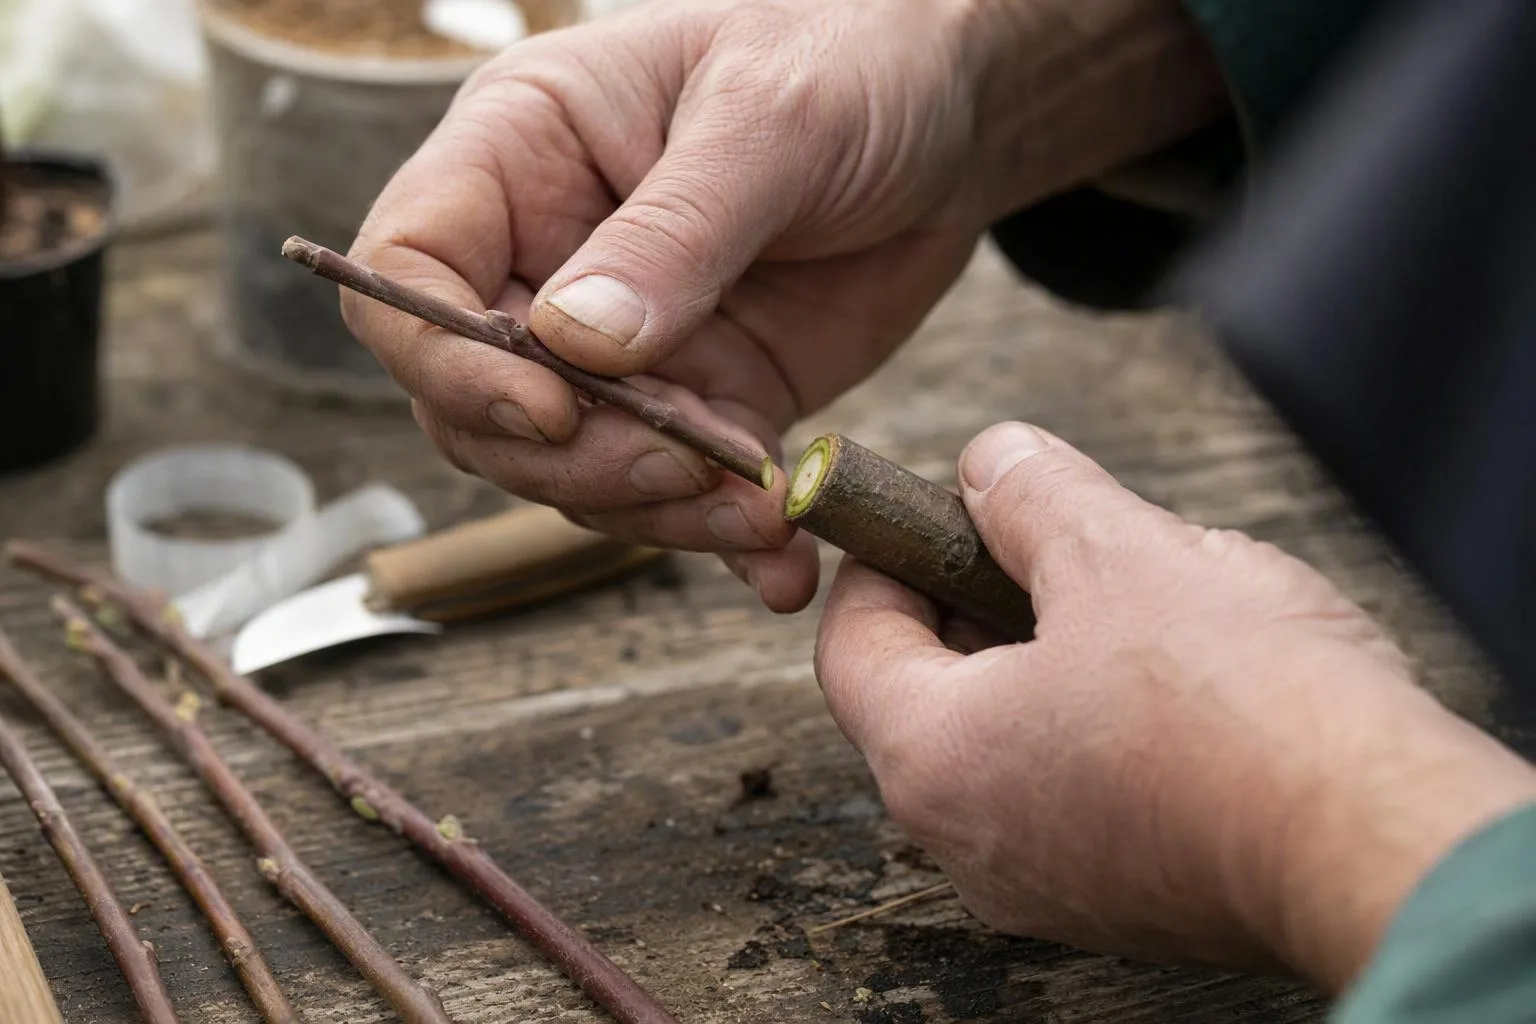
The Preparation That Prevents Most Avoidable Failures
Use a healthy, compatible rootstock with no cankered bark, drought stress, or active pest damage. Choose scionwood from firm one-year growth with well-formed buds. Label each bundle immediately; once several varieties are leafless, memory is a poor filing system. The guide on storing and labelling dormant scionwood through winter belongs beside this job because an unidentified, desiccated bundle is not useful material.
Scionwood should remain cool and just hydrated enough to stay firm, not wet enough to sit in free water. The reasoning is simple: a dry scion loses living cambial cells, while trapped moisture around a sealed cut encourages decay. Use a barely damp wrapping material, a closed bag with a little air space, and inspect for softness or mould before cutting. This is a practical moisture balance, not a promise that one storage recipe suits every refrigerator.
Prepare a sharp grafting knife, clean binding material, labels, and sealant suited to the graft type. Sanitise the blade between questionable plants or visibly diseased material. Make a test cut on spare wood: the surface should be smooth and bright rather than torn, fuzzy, or compressed.
Keep cut faces out of sun and wind. A few minutes of exposure can matter more to a thin scion than a few minutes of extra measuring. Have the tie ready before making the final cut, because searching for tape with both surfaces exposed is an avoidable delay.
A Node-Level Walkthrough of Cambium Contact
For a whip-and-tongue graft, select scion and stock with similar diameters when possible. Make long, flat cuts rather than short wedges. The cut should expose a broad contact area without repeatedly shaving the surface. Add the tongue only after the main slopes are clean; it is a locking feature, not a substitute for a good primary cut.
- Cut the rootstock and scion in one controlled motion where practical. Avoid sawing back and forth across the final surface.
- Fit the pieces together and inspect the side edges. If diameters differ, slide the scion until one cambial margin runs continuously against the stock.
- Hold the fit while tying from below the union upward. The binding should close gaps and stop rocking, but it should not crush the bark.
- Seal exposed cut surfaces, especially the top of the scion and any shoulders that can lose water. Keep sealant off buds that must expand.
- Label the variety, rootstock, date, and method. That record turns a vague success or failure into a comparison you can use next season.
Node position matters because buds are points of future shoot growth, not decorative marks. Keep at least one sound bud above the union, and orient it outward if the final branch direction matters. On a cleft graft, the scion’s cambium often contacts the stock on one side rather than both. The exposed top of the stock must be sealed because the cut surface is large and loses water quickly.
Do not “improve” a slightly uneven fit by moving the pieces after they touch. Sliding can smear cambial cells and introduce grit. If the alignment is wrong, separate the pieces, recut once, and join again.
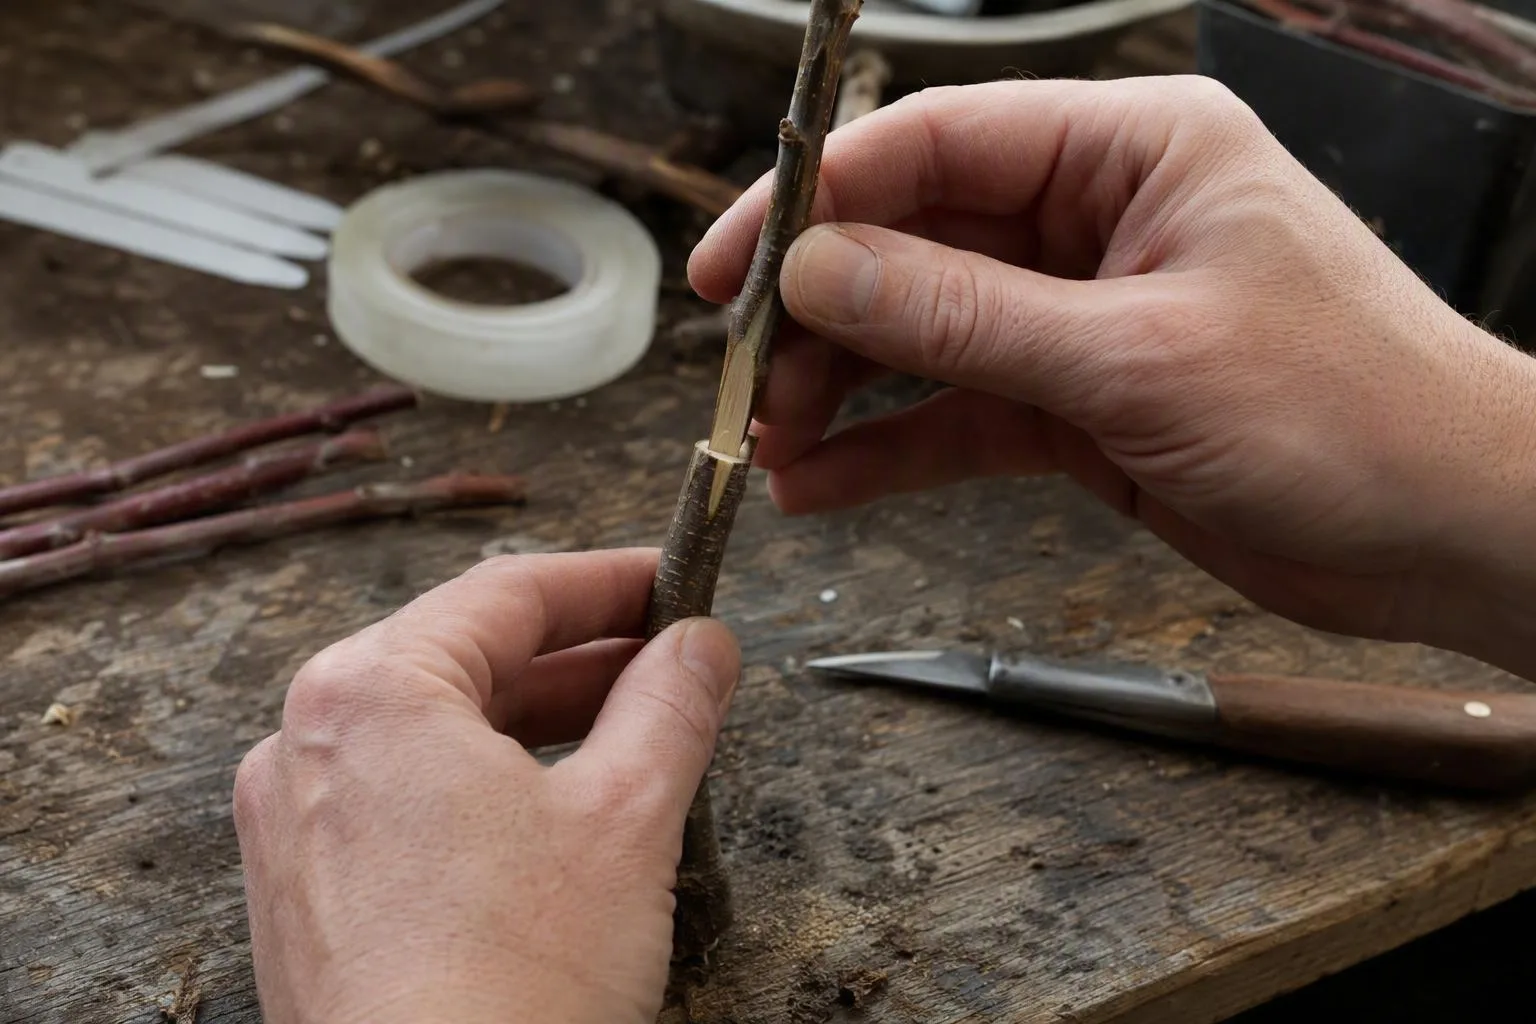
Whip-and-Tongue, Cleft, Bark, or Bud Graft?
There is no universal best graft. The method is a response to diameter, season, and the amount of exposed wound you can protect.
| Method | Best fit | Main advantage | Quiet failure mode |
|---|---|---|---|
| Whip-and-tongue | Young wood of similar diameter | Large contact area and mechanical interlock | Short, crushed, or misaligned cuts |
| Cleft | Thick stock with one or two thinner scions | Allows diameter mismatch and renovation of a branch | Drying and splitting around a large wound |
| Bark | Large stock during bark slip | Places small scions on established limbs | Bark lifts poorly or the edges dry before sealing |
| Chip or T-budding | Mature bud on actively growing stock | Uses a small piece of scion material | Bud is immature, badly fitted, or enters cold weather unsettled |
Whip-and-tongue is my default for closely matched young stems because the cuts can be controlled and the joint is easy to bind. It is not forgiving of poor knife work. Cleft grafting is more useful when the stock is too thick for a clean matched splice, but the tradeoff is a broad wound and a larger perimeter to protect. A cleft can also leave the stock structurally awkward if the scion grows strongly from one side, so later training matters.
Bark grafting solves a different problem rather than being a bigger cleft graft. It relies on living, lifting bark and leaves the scion seated between bark and wood. If the bark splits downward, the torn edge can dry back; if the cut surface remains exposed, moisture loss and infection become harder to control. Chip or T-budding can save scion material and suit late-season work, but the bud itself must be mature and the stock must still be physiologically active.
The First Six Weeks: Protecting a Union That Is Not Strong Yet
For the first week, protect the graft from drying, birds, wind movement, and direct heat against dark wrapping. Do not unwrap it daily to admire the callus. Movement breaks delicate bridges before they become organised conducting tissue.
During weeks two and three, look for a scion that remains firm rather than shrivelling. On a bud graft, the bud may stay green while the petiole changes or falls away, but these signs vary by plant. A living appearance is a checkpoint, not a verdict.
By weeks four to six, inspect the binding for pressure. Fast-growing stock can begin to bulge around a tie before the union is strong enough to stand alone. Loosen or replace constricting material carefully, following the material’s behaviour rather than an arbitrary removal date. The binding must eventually give expanding tissue room, but removing it too early can allow the scion to rock.
Remove shoots emerging below the graft as soon as they can be identified, using a clean cut at their origin rather than leaving a stub. They draw water and carbohydrates from the rootstock while shading or outgrowing the scion. For the detailed follow-up, the guide on pruning rootstock shoots after a graft covers the repeated removal problem rather than treating it as a one-time chore.
A swelling bud is still not proof of a functional union; use sustained growth and a stable joint as the stronger test.
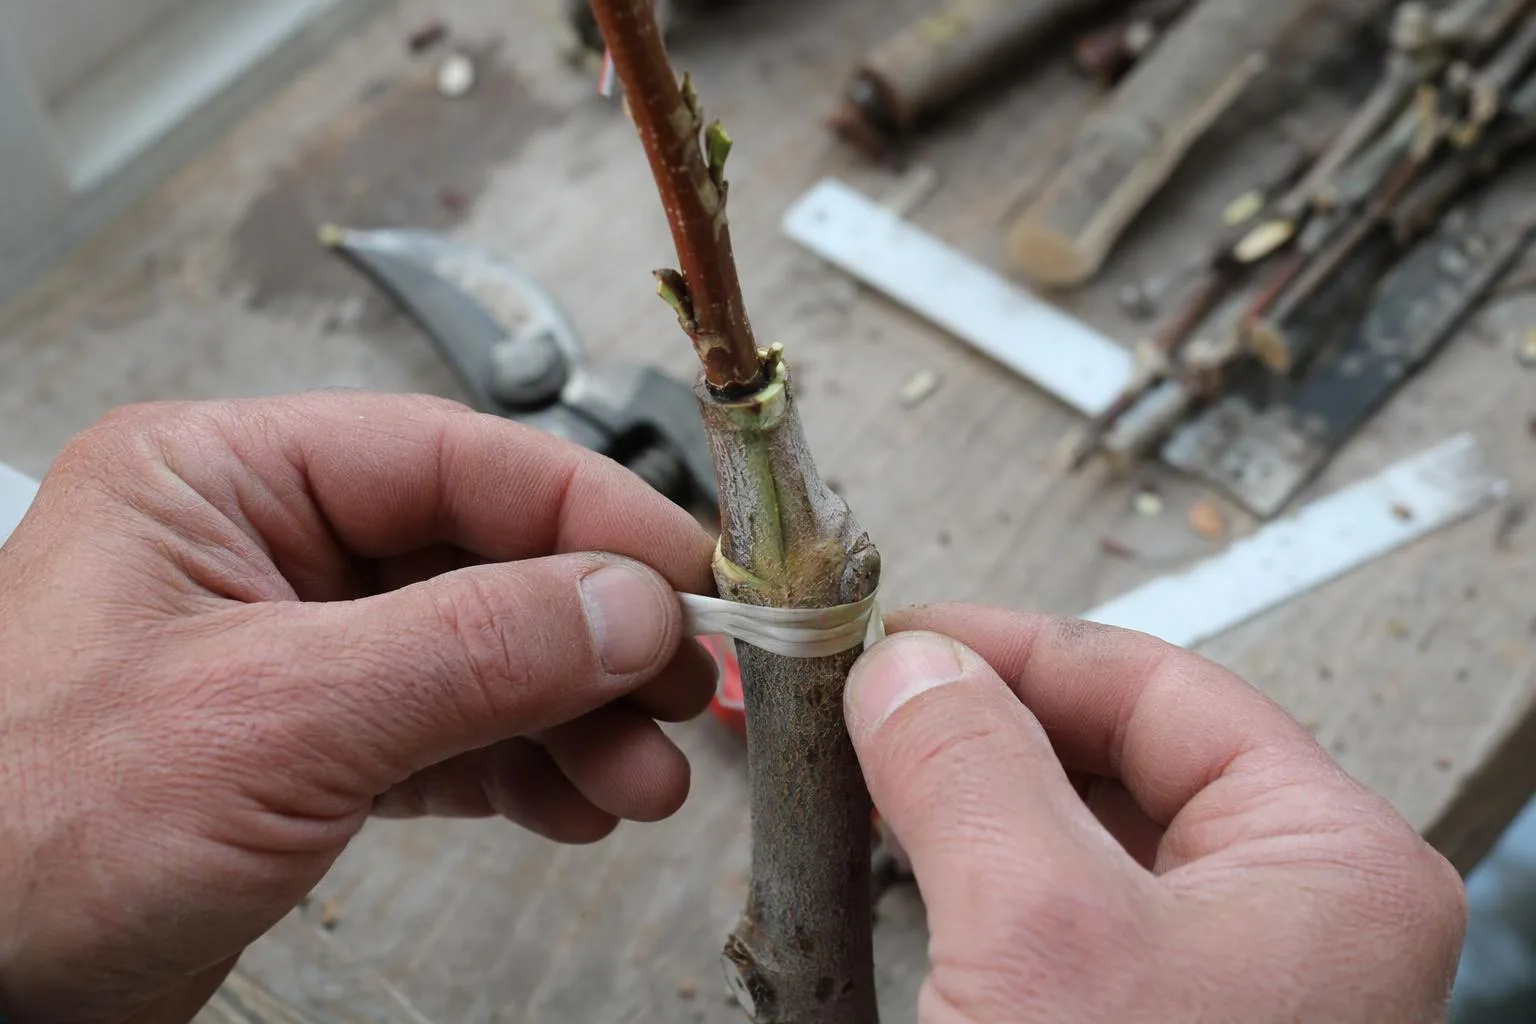
Read the Failure at the Cut Surface
Begin at the scion, then inspect the joint, then the rootstock.
- Dry, shrivelled scion: suspect dehydration, excessive heat, a poor seal, or a cut made long before tying. If the wood is brown beneath the surface, recutting may not save it.
- Black, soft, or foul-smelling cut surface: suspect decay promoted by trapped moisture, damaged tissue, or contaminated tools. Remove the failed material and do not reuse visibly affected cuttings.
- Callus with no shoot growth: callus may have formed without a continuous vascular bridge. Check whether the bud is alive, whether the union was disturbed, and whether stock shoots are taking over.
- Union breaks with light movement: the contact may have been incomplete, the tie may have loosened, or the pieces may have dried before healing. A green scion does not overrule a mechanically weak joint.
- Vigorous shoots below the graft: the rootstock is active, but that says little about the scion. Remove the competition and reassess the scion separately.
To distinguish poor cambium contact from bad timing, cut into a failed union after the growing season begins. A dry, unbridged line suggests dehydration, movement, or misalignment. A dark, wet margin points more toward decay. A clean but delayed union may reflect low temperature or a species-specific pace. Repeated failure with the same pairing, despite sound technique and timing, puts compatibility higher on the list.
Do not keep a failed graft attached indefinitely “for insurance.” If the scion is dead, remove it back to sound tissue and choose whether to regraft, train a rootstock shoot, or wait for a new dormant shoot. The exception is a questionable but living union: leave it supported until its condition is clearer rather than disturbing it to obtain an early answer.
How to Talk About Take Rates Without Promising a Number
A take rate is meaningful only after you define “take.” A bud that remains green for a few weeks, a scion that pushes one shoot, and a union that survives winter are three different outcomes. Species, graft type, stock age, scion storage, knife skill, weather, and the definition used by the grower all change the result.
For a home trial, make the comparison small but deliberate. Graft six similar apple rootstocks with whip-and-tongue in one session, label each one, and record scion diameter, rootstock diameter, storage condition, date, weather, tie material, first bud movement, and whether growth continues after the first flush. If six pieces are from different varieties or different thicknesses, you have a collection of anecdotes, not a useful method comparison.
Repeat the comparison with a cleft graft only when the stock diameter calls for it. Otherwise, a method can appear worse simply because it was used on the wrong job. This is why universal percentages are poor planning tools for a small plot. A controlled batch tells you more about your material and calendar than a confident number from an unspecified trial.
For compatibility questions, use species-specific evidence and a cautious reference such as tree compatibility charts for rootstock and scion pairings by genus. For late-season budding, the practical sequence in chip budding fruit trees in late summer is more relevant than a general claim that all budding windows behave alike.
The next decision is concrete: name the plant, measure the stock and scion, and note whether the stock is dormant, actively growing, or slipping bark. That three-part description will usually select the method and timing more accurately than the phrase “best grafting technique.”
Questions Gardeners Ask After Tying the Graft
Can you graft different species together?
Compatibility is usually strongest within the same species or, for some combinations, within a closely related genus. More distant pairings can fail quickly, form a weak union that breaks later, or grow for a period before the connection becomes unreliable. Relatedness is a starting clue, not permission to assume success. Check species-specific compatibility evidence before spending rare scionwood.
Should grafting tape be removed?
Binding eventually needs loosening or removal before it constricts expanding tissue. The timing depends on the material, growth rate, and union strength. Inspect for indentation, swelling, or a tie cutting into bark; those observations are more useful than following an arbitrary date.
How long does it take for a graft to take?
Early signs can appear before a functional vascular union exists. Callus formation and a turgid scion are provisional evidence; sustained growth and a joint that resists gentle movement are stronger evidence, with the interval varying by species, method, and temperature.
Save this working checklist: compatible wood; dormant, firm scion; stock at the right growth stage; sharp clean cut; one continuous cambium edge; immediate tying; protection from drying; labels; and a follow-up inspection that looks for sustained growth rather than a single swelling bud.
Frequently Asked Questions
Can you graft different species together?
Explain that graft compatibility is usually strongest within the same species or genus, while more distant combinations may fail immediately or form a weak, delayed union; recommend checking species-specific compatibility evidence rather than assuming related plants will join.
Should grafting tape be removed?
Say that the binding must eventually be loosened or removed before it constricts expanding tissue, but the timing depends on material, growth rate, and union strength; inspect rather than following an arbitrary date.
How long does it take for a graft to take?
Distinguish early signs such as a living, turgid scion from a confirmed vascular union; describe a variable timeframe governed by graft type, species, and temperature rather than offering a guarantee.