Mulching for Beginners: What to Use, When, and Why
A bean row tells you whether mulch is doing its job. After a dry week, the soil under a loose straw layer should still crumble cool and slightly moist; after a hard rain, the straw may settle from a fluffy cover to a thin mat. If rain has pressed it below about 2 cm, add a little more rather than dumping a fresh, deep layer over the row. That is a practical maintenance rule for this bean-row example, not a universal depth prescription.
For mulching for beginners, the short answer is simple: choose the problem first, then choose the material. Use a thin, open layer for newly planted vegetables, a more durable coarse layer for established shrubs and paths, and compost as a soil-feeding top-dress rather than pretending it is a permanent weed barrier. Leave bare soil around stems and trunks, and wait for spring soil to warm before covering ground where seeds still need to emerge.
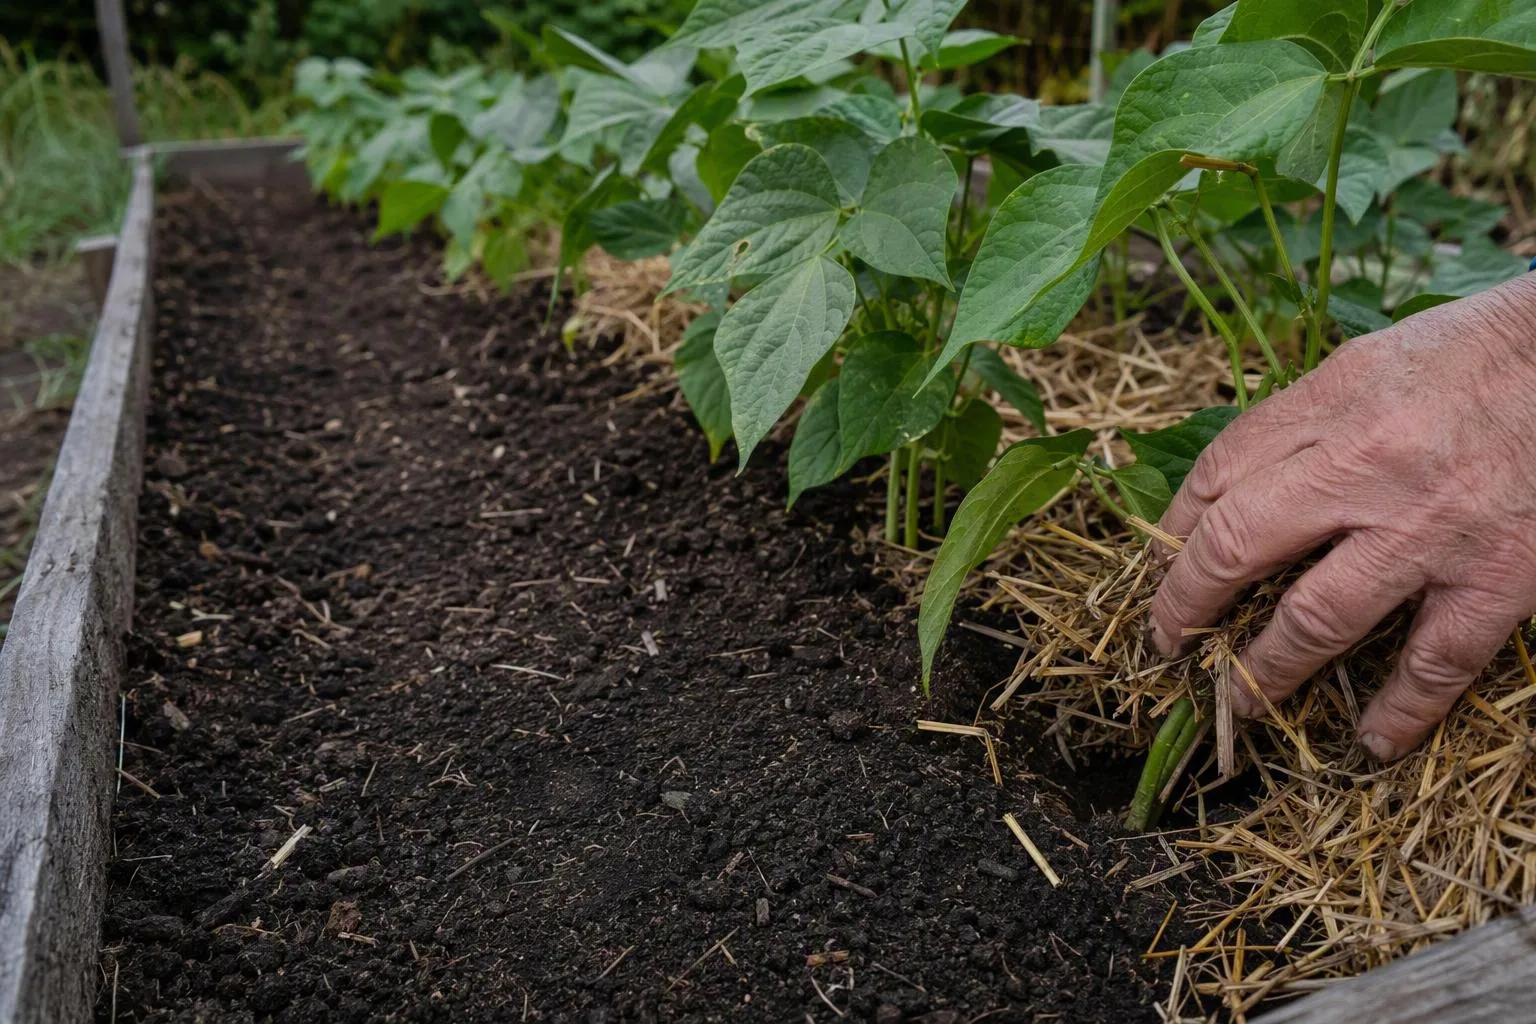
Choose the job before you choose the mulch
Mulch is not one thing with one benefit. It is a layer placed between the atmosphere and the soil, and its effect depends on thickness, texture, colour, moisture, and how quickly it decomposes. A loose organic layer interrupts wind at the soil surface, shades the ground, softens raindrop impact, and leaves fewer exposed gaps for weed seedlings. A dark, damp layer can also slow warming in spring. A stone layer changes heat storage and drainage rather than feeding soil life.
That gives you a useful decision path:
- If the bed is drying: use a loose organic material that allows rain through but reduces direct evaporation from the surface.
- If weeds are the main problem: use enough opaque or overlapping material to block light, while checking that the crop can still emerge.
- If soil is eroding: choose a cover that will not float away at the first heavy shower. Coarse chips or anchored straw work better than a dusting of fine compost.
- If the aim is gradual soil improvement: choose a material that decomposes where soil organisms can reach it, then expect replenishment rather than permanence.
- If the area is a path: durability and footing matter more than rapid nutrient release.
For direct-sown carrots, spinach, or beans, mulch is a timing problem. The seed needs contact with moist soil and an unobstructed route to the surface. A deep layer applied before emergence can keep the surface cool, physically obstruct shoots, or stay wet against the seed line. Once seedlings are established, a thinner mulch can be tucked between rows.
For an established shrub, the calculation changes. Its roots already occupy a larger volume, the stems are woody, and there is no need for dozens of seedlings to push through the cover. A durable layer can reduce surface drying and blunt temperature swings, provided the crown and lower stems remain exposed.
Containers are the awkward case. Mulch can slow evaporation, but a pot has a limited air space and a restricted water reserve compared with open ground. That combination can make watering errors harder to see: the surface may look dry while the root zone remains wet, or a thick cover may hide how quickly a small container is drying. I prefer a visibly thin layer in containers and a finger check below the surface rather than trusting appearance.
The best beginner rule is therefore not “mulch everything.” It is “cover the soil only when the cover solves a named problem.”
The material bench: straw, compost, leaves, wood chips, and gravel compared
Here is the practical comparison before the caveats. The categories overlap, and the material’s condition matters as much as its name.
| Material | Useful for | Quiet drawback |
|---|---|---|
| Clean straw | Vegetable rows after emergence, moisture control | Can blow, settle, or contain seed if it is actually hay |
| Mature compost | Thin soil-feeding top-dress | Usually too fine and valuable to serve as a lasting weed barrier |
| Shredded leaves | Perennial beds, soil cover, gradual organic matter | Fine layers can mat and shed water |
| Wood chips | Paths and established shrubs | Can obstruct small seedlings and make surface nitrogen temporarily less available where chips contact soil |
| Gravel | Paths, dry borders, permanent decorative cover | Does not add organic matter and can intensify heat around some plants |
Straw is a good compromise for a vegetable garden because it is open enough for rain to pass and easy to move aside for sowing. It is not automatically clean. Hay is cut grass with a higher chance of viable seed, so the bale label and source matter. If the material is unknown, place a small test layer beside—not over—your most valuable crop and watch for unwanted seedlings before committing to a whole bed.
Grass clippings are useful only when handled as a thin, controlled material. Let wet clippings dry briefly, then spread a light layer rather than a thick green blanket. Fresh, deep clippings can compress into a slick mat, heat as they decompose, smell sour, and exclude water from the soil below. Do not use clippings from a lawn treated with a product whose label restricts use around edible crops; if you cannot establish the product and its restrictions, choose another mulch.
Compost belongs in a different mental category. It feeds the soil surface and helps add organic material, but its fine particles can fill surface pores and form a hospitable seedbed for weeds. A thin top-dress can be sensible around established plants; it is usually a poor substitute for a coarse, light-blocking mulch. If you want the longer explanation, see How to Use Compost as a Soil Top-Dress Without Losing Nitrogen.
Shredded leaves break down into a useful soil cover, especially in perennial borders. Whole leaves can shed rain or blow into corners, while finely shredded leaves can pack together. The workable middle is a loose layer that still shows air spaces. If the material has come from a diseased plant, remove the visibly affected debris rather than assuming the pile or bed will neutralise it.
Wood chips are durable because their larger pieces decompose slowly. That makes them a strong choice for paths and around established shrubs, but a clumsy choice over a newly seeded carrot row. The commonly repeated warning about “nitrogen theft” needs precision: the temporary competition is strongest at the chip–soil interface as microbes break down carbon-rich material. It is less reason to panic about chips sitting on the surface than to avoid mixing fresh chips into the root zone of small annual crops. For the trade-off in vegetable gardens, see Wood Chips in Vegetable Gardens: When They Help and When They Cause Problems.
Gravel is not a soil-building mulch. It can suppress some weeds and stay in place, but it stores and reflects heat, complicates later bed changes, and offers no decomposable carbon to the soil system. Use it where its permanence is an advantage, not because every bare patch needs a stone blanket.
Manure and homemade compost need source discipline. Unknown manure may carry persistent herbicide residues, while an ordinary home compost pile may not reach the temperature and duration needed to inactivate every plant pathogen. Home compost is therefore not automatically a sanitation treatment. Keep diseased plant material out unless you can verify that your composting method maintains appropriate hot-composting conditions; for edible crops, follow the restrictions on any source material and use only materials whose origin you can identify.
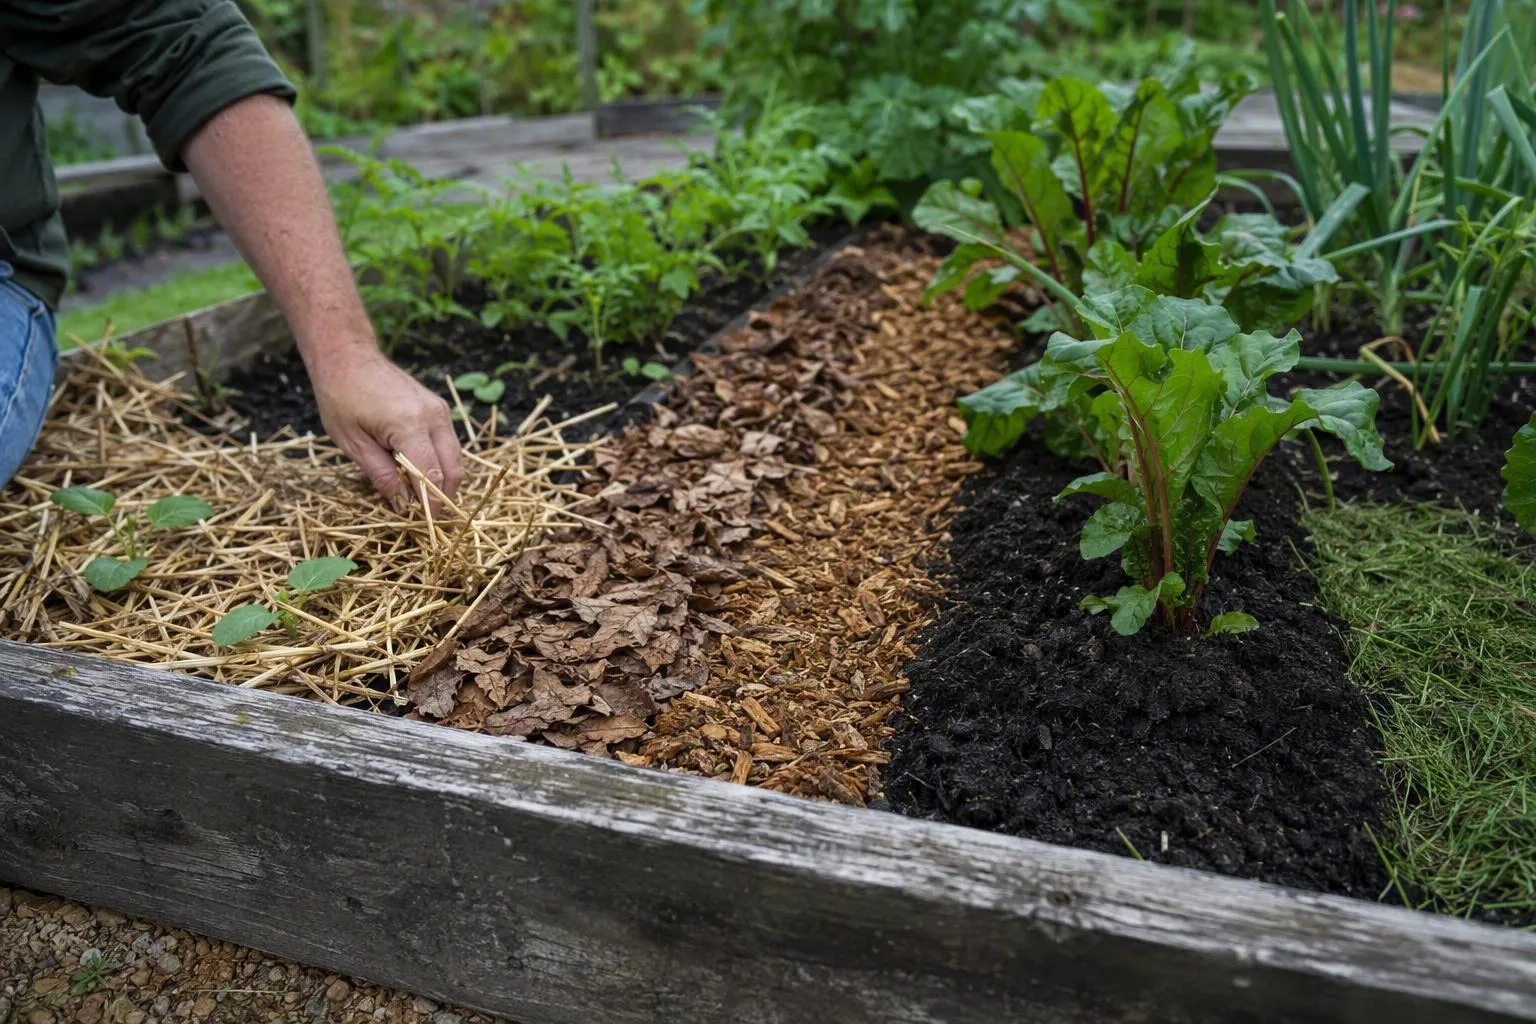
A timing calendar from bare spring soil to winter protection
Mulch depth is a starting point, not a target to pursue with a ruler. Texture changes the result: a loose straw layer behaves differently from compacted shredded leaves, and coarse chips leave larger air gaps than compost.
Early spring: let the soil do its warming
Before direct sowing, clear the seed line. Dark, uncovered soil warms and dries at the surface more readily than soil under a thick organic blanket. That is useful for a seedbed in cool weather, though it also means more evaporation. Sow into prepared soil, water the line, and wait until seedlings are visible and anchored before drawing mulch into the gap between rows.
For transplants, a thin open layer can be placed after the soil has warmed and the plant has begun new growth. Keep the mulch away from the stem. A practical starting point is a shallow cover around small vegetables and a deeper, more durable layer around established shrubs, but the correct amount is the amount that still allows air movement and easy inspection of the crown.
Summer: watch the soil, not the calendar
Replenish when rain has exposed wide patches, wind has moved the material, or the layer has decomposed enough that weeds are receiving light. Do not automatically add a new layer every month. Scrape back a small window and check whether the soil is moist, crusted, sour-smelling, or dry beneath a matted surface. Those observations tell you whether to add, loosen, remove, or simply leave the mulch alone.
For fruit trees and established shrubs, keep a clear ring around the trunk or main stems. The exact gap should reflect the plant’s size and climate, but constant wet contact is the condition to avoid. Mulch piled against bark can keep the surface damp, shelter pests, and hide damage during inspection.
Autumn and winter: protect roots without burying crowns
Autumn mulch is most useful after the ground has cooled and the plant is entering dormancy, not as a thick wet collar placed against a still-growing crown. Around established perennials, a loose layer of shredded leaves over open soil can serve the same winter-cover principle used around shrubs: insulate the soil surface while leaving crowns and lower stems visible. This is not a new universal 5–8 cm prescription; it is the same “loose cover, clear crown” principle applied to a different plant type.
For overwintering crops, inspect after freeze–thaw cycles. A cover that has compacted into a sealed mat may hold too much moisture at the wrong point in spring. Pull it back gradually as growth resumes rather than waiting until tender shoots are forced through a heavy blanket.
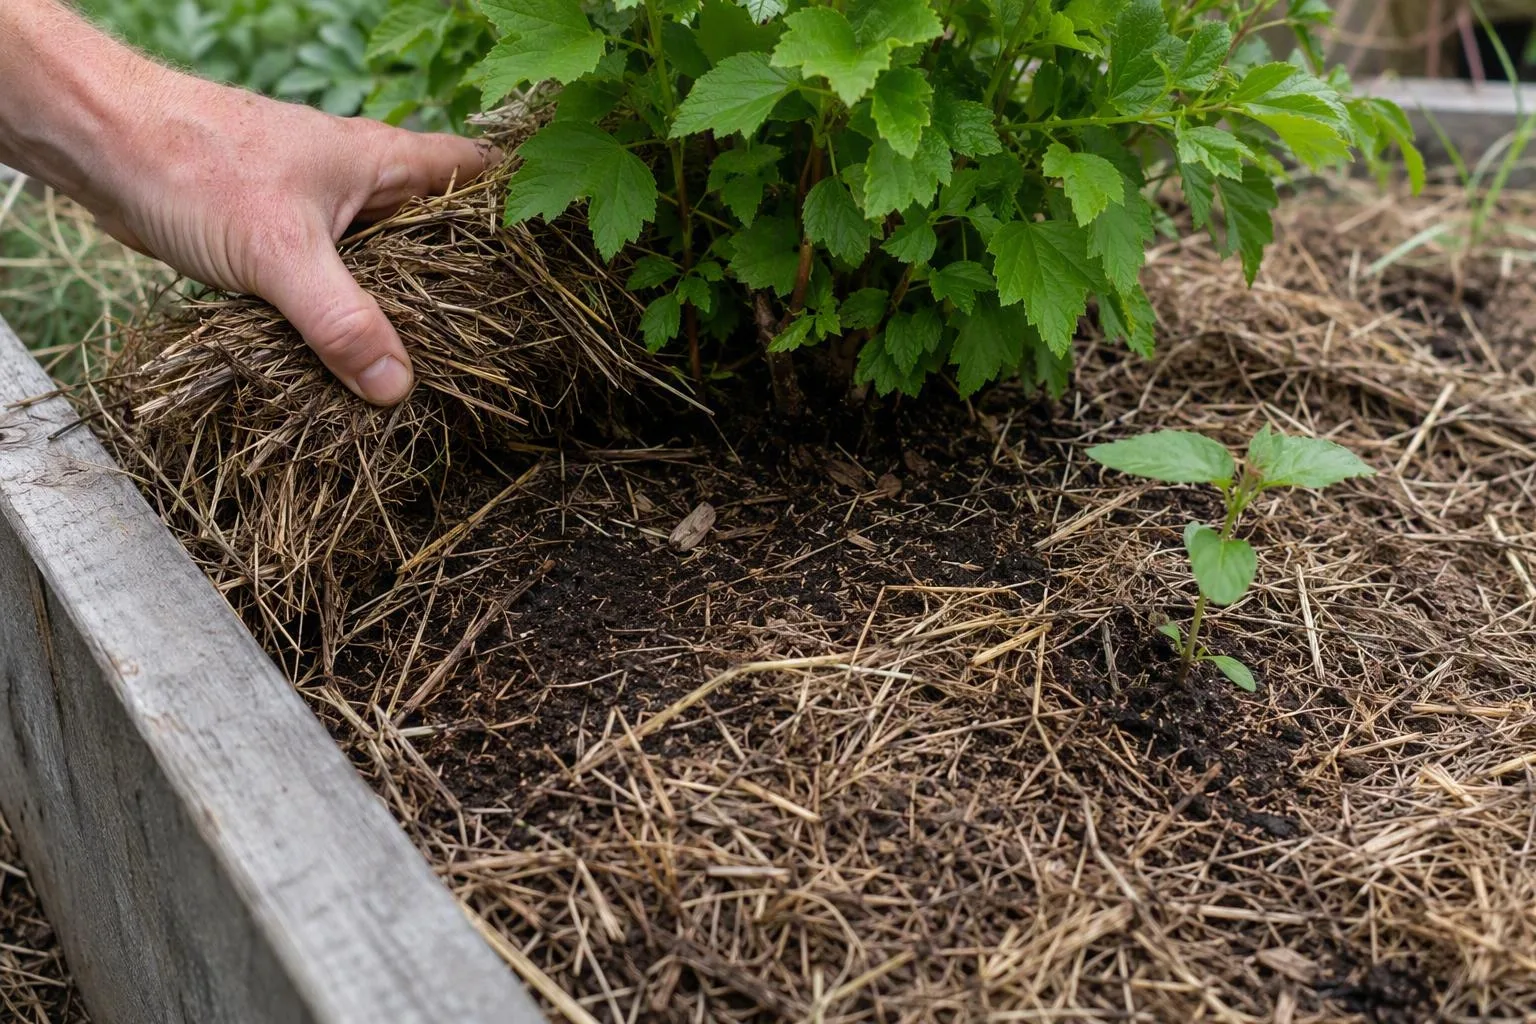
When mulch quietly fails: matted layers, hungry seedlings, and wet crowns
Most mulch failures are not caused by the wrong brand. They come from a mismatch between material, timing, and thickness.
The surface is wet, sour, or sealed
Fine leaves, fresh grass, and wet shredded material can settle into a dense layer. Water may sit on top or run around the edges instead of entering evenly. Lift the mat with a fork, break it apart, and spread it thinly to dry. If the smell is sour and the lower soil is saturated, remove some material rather than adding a fresh cover.
Seedlings are pale or stalled
Do not diagnose nitrogen immobilisation from pale leaves alone. First check light, root damage, cold soil, watering, and whether the mulch is physically burying the stem base. Carbon-rich material mixed into soil gives microbes a reason to use available nitrogen while they decompose it; coarse chips left on the surface create a different situation. If fresh fine material has been incorporated into the root zone, pull it back, keep it on the surface, and use a suitable fertiliser decision based on the crop and a soil test rather than guessing.
Stems are soft at the base
Move mulch away and inspect the crown. A wet, airless layer against a stem creates a poor drying environment and can hide slug damage or developing rot. The correction is not a taller mound. It is a clear, ventilated ring and better control of irrigation.
The mulch has disappeared or turned water-repellent
Wind and runoff expose soil in predictable places: bed edges, slopes, and paths used frequently. Replace only the missing section after anchoring or choosing a heavier material. If dry fine mulch beads water, loosen it or remove the top crust before adding anything. A fresh layer over a hydrophobic mat can hide the problem while runoff continues underneath.
Maintenance should follow condition. If the soil beneath is cool, evenly moist, and free of stem contact, leave the mulch in place even when it looks less tidy. A slightly thin, functioning layer is safer than an impressive pile that blocks inspection and air movement.
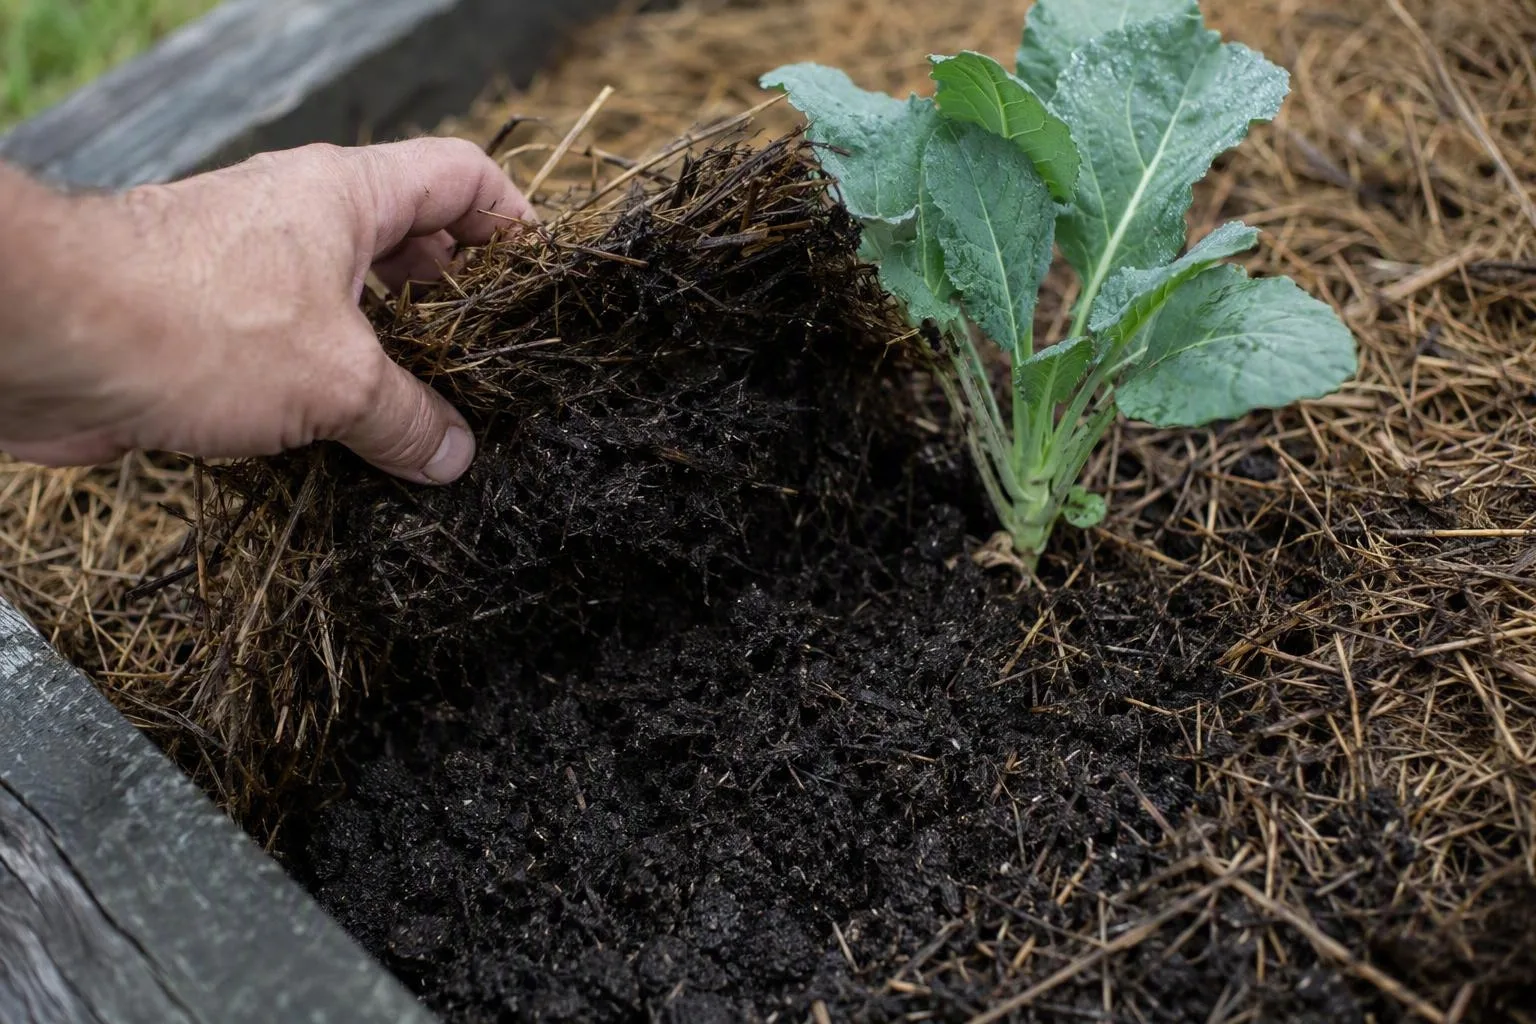
Three small decisions that prevent most beginner mistakes
- Mark the crop stage. Before emergence, keep the seed line clear. After establishment, mulch between plants and rows.
- Touch the soil before adding material. Look beneath the cover, not just at its colour. Add only where the layer is thin, displaced, or no longer solving the original problem.
- Protect the crown and identify the source. Leave stems clear, and reject hay, manure, clippings, or compost whose weed, herbicide, or disease history you cannot establish.
Save that checklist for the first warm weekend of the season. The next decision is not which mulch is best in the abstract. It is whether your particular bed needs slower evaporation, fewer weeds, softer rainfall, warmer soil, or a cleaner path—and whether the material you have can do that job without creating a second one.
Questions beginners ask before spreading the first layer
Can I use grass clippings as mulch?
Yes, if you know the lawn’s treatment history, let wet clippings dry briefly, and apply them in thin layers. Replace or fluff them if they mat, smell sour, or shed water. Do not use them around edible crops when the label for a lawn product gives restrictions you cannot satisfy.
Should mulch touch plant stems or tree trunks?
No. Leave a visible clear ring. The goal is to cover nearby soil while allowing the crown or bark to dry and remain inspectable.
Does mulch attract termites or other pests?
Mulch can create moist shelter for some insects, but risk depends on the material, depth, drainage, and distance from buildings. Keep it below siding and away from structural wood, and avoid broad claims that one mulch type causes every pest problem.
Frequently Asked Questions
Can I use grass clippings as mulch?
Yes, if the clippings are free of herbicide concerns, allowed to dry briefly, and applied in thin layers; thick fresh clippings can mat, heat, smell, and exclude water.
Should mulch touch plant stems or tree trunks?
No. Leave a small clear ring around stems and trunks because constant damp contact can encourage rot, pest shelter, and bark damage; the exact gap should reflect the plant's size and climate.
Does mulch attract termites or other pests?
Mulch can create a moist shelter for some insects, but the practical risk depends on material, depth, drainage, and proximity to buildings; keep it below siding and away from structural wood, and avoid making broad pest claims about one mulch type.